Follow along as the guys from Mensinger build me my very own left handed custom guitar!
Back in 2011 I ordered a custom Mensinger Arcadia and the brand was kind enough to send me a series of photos documenting the full build process.
Ordering A Custom Mensinger Guitar
So what did I actually order? I decided to go with the brand’s fairly unique-looking Arcadia model with the following options.
- Left Handed (But you knew that, right?)
- Flame Maple Top & Matching Headstock Veneer
- Bound Ebony Fingerboard
- Simple Dot Inlays
- White Body Binding (Front & Back)
- Transparent Red finish With Matching Headstock
- All Black Hardware
- Haussel Tozz B (Bridge), Haussel Vin+ (Neck) Pickups
- Narrow C-Shaped Neck
I mocked up a quick image to send Mensinger to make sure that no details were lost in translation – they are based in Poland. Learn how to easily do this yourself using a virtual guitar builder.


The guitar was ordered through the brand’s main dealer in Germany (Public Peace), and I was quoted roughly six weeks in total for the build.
A payment of 50% of the final cost was required to begin the build. Once the guitar was completed I was sent the final photos and paid the remaining balance.
Left Handed Custom Guitar Build Photos
Once my order was placed all I had to do was patiently await my new axe. The guys at Mensinger were great and sent me photos of the build roughly once every week or two.
Check out the galleries below to follow along with the process. Click on each photo to enlarge!
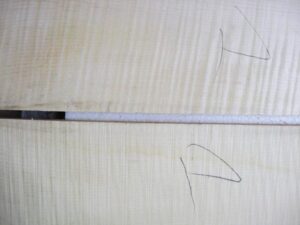
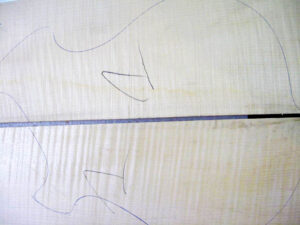
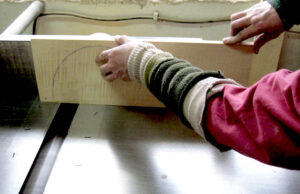
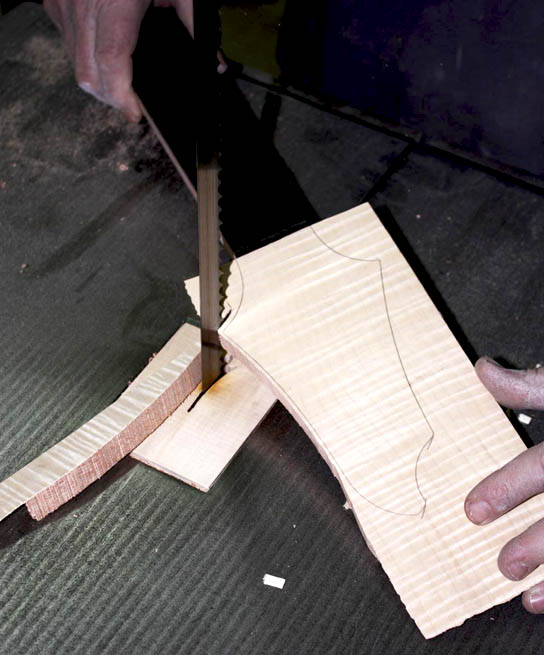
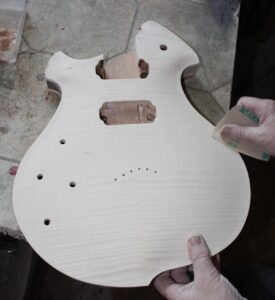
Show Me The Flame!
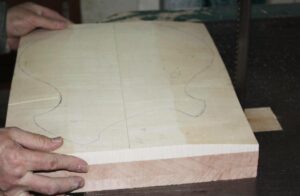
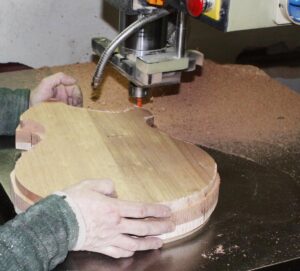
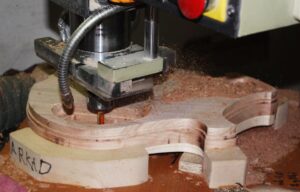
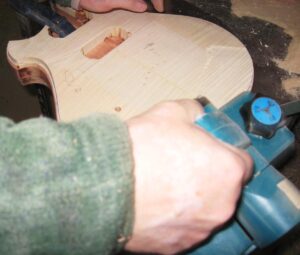
My Arcadia has a mahogany body with a tasty flame maple top. Here, we can see the guys preparing the flame maple body blanks and beginning to cut out the body shape.


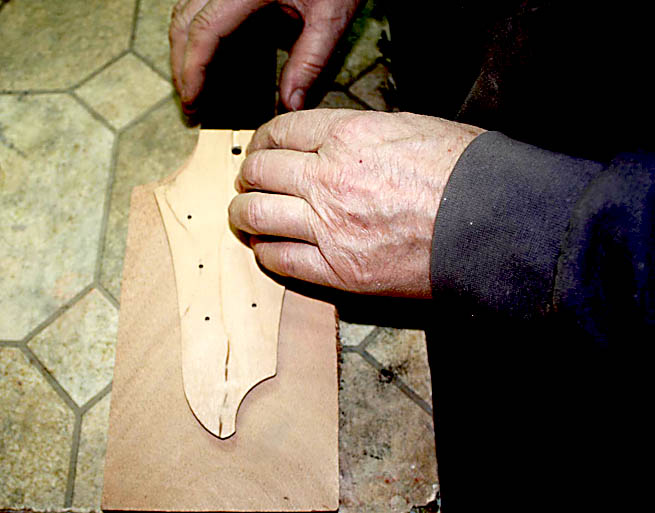
Headstock Veneer
I really wanted the headstock to match up nicely with the body. Here, the Mensinger luthiers can be seen gluing on the flame maple veneer.
You also get a sneak peek at the dark ebony fretboard, which has a nice and flat 14″ radius by the way.


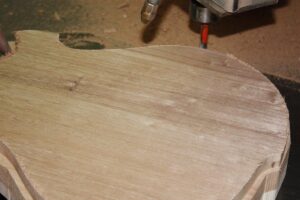
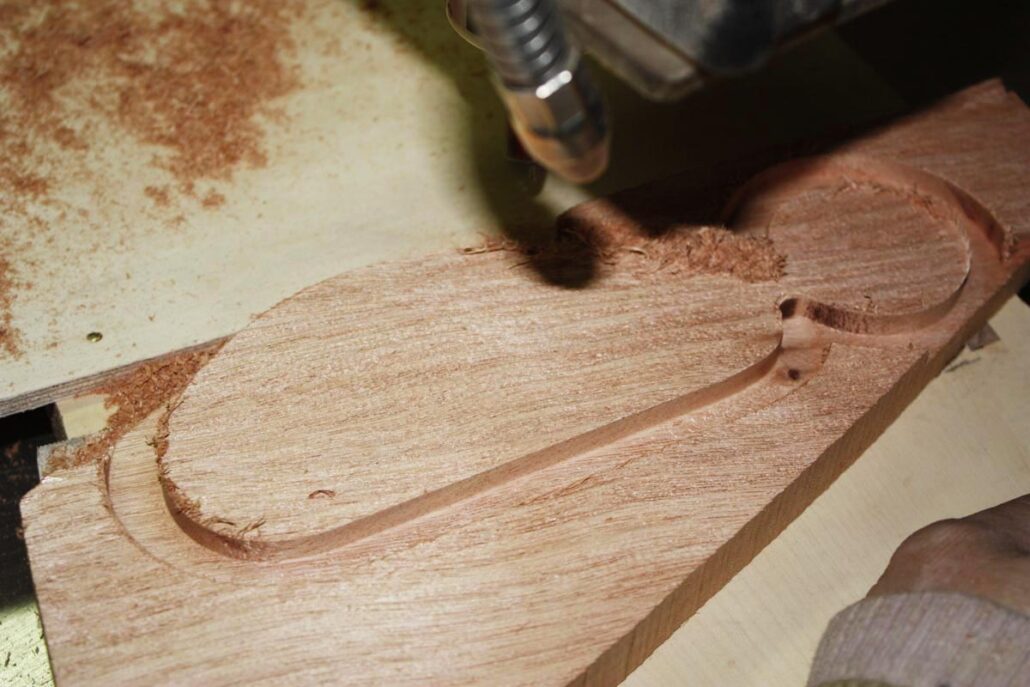
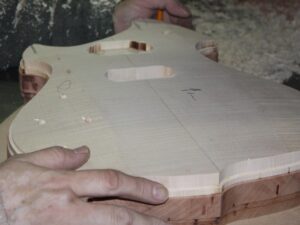
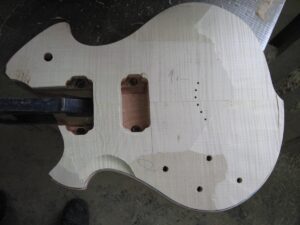
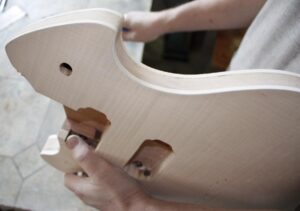
Routing Cavities & Making Covers
The guitar body has two rear cavities for the electronics. In these photos, we can observe those being routed.
You can also see the wooden covers for these cavities being cut out in the last image.


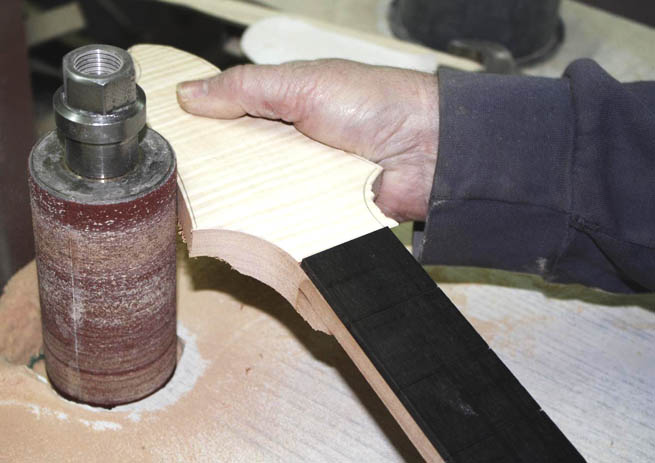
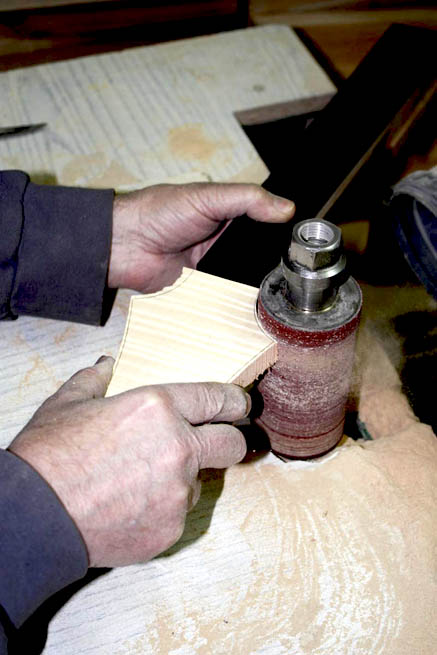
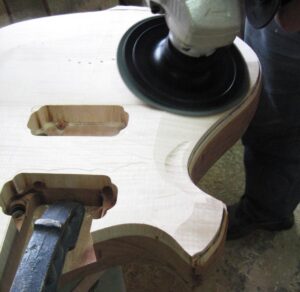
Working On The Top
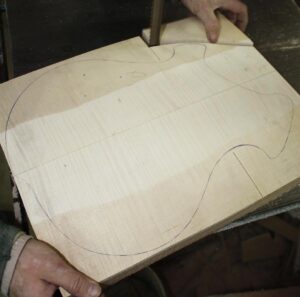
Now we’re starting to see something resembling a guitar!
Once all of the cavities and holes are created the guys begin to sand and shape the contours of the body.


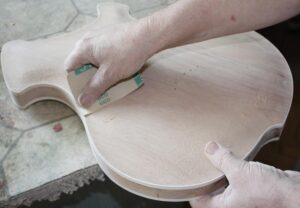
Applying Binding
Next up we can see the body and neck being prepped for the binding before it is painstakingly applied.


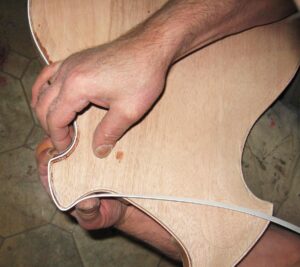


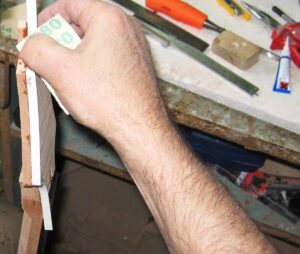

Cleaning Up The Binding
Once the binding is applied, Mensinger carefully sands all of the edges flush.
It was at this point where I was thinking to myself maybe I should just leave it as a natural finish. Looks great as is!


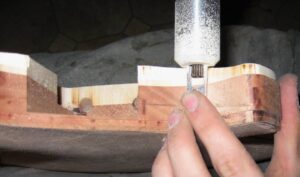
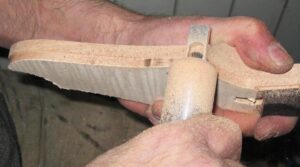
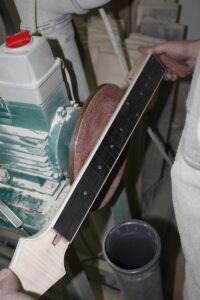
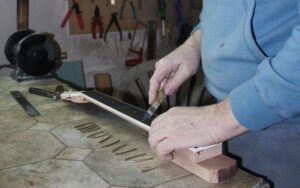
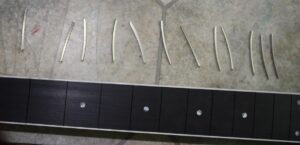
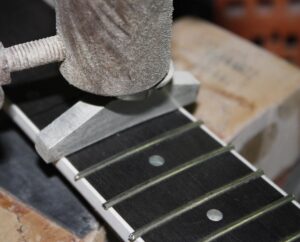
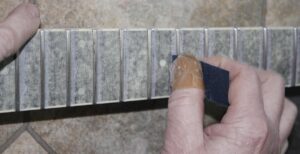
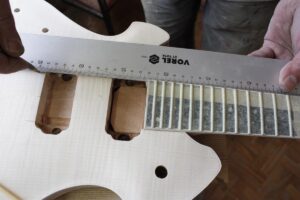
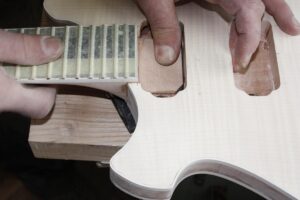
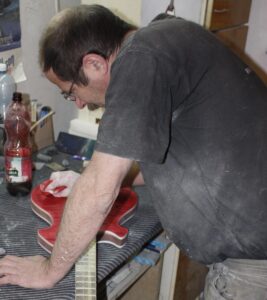
Working On The Neck And Fretboard
Once the neck profile was completed, Mensinger could begin adding the frets to the fingerboard.
Here, we can see the slots being filed before the frets are put in place.


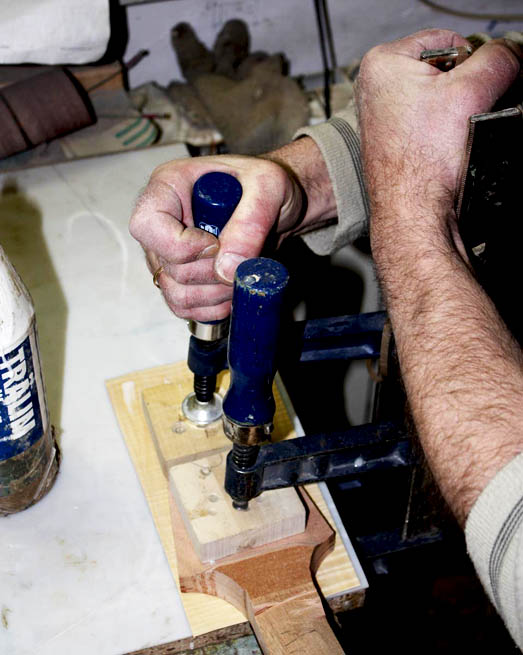
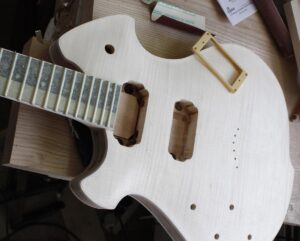
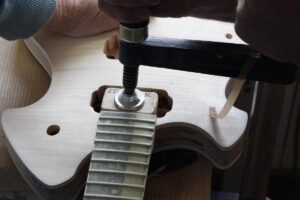
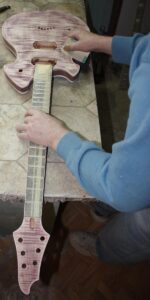
Fitting The Neck
The Arcadia features a set-in neck design for amazing access to those dusty higher frets.
In this next batch of photos the neck is glued in place, giving us an early glimpse of the full guitar.


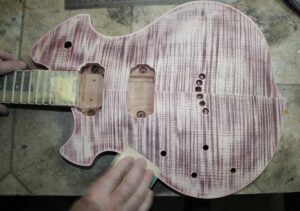
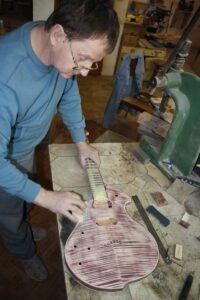
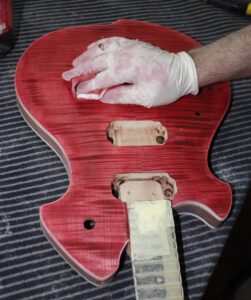
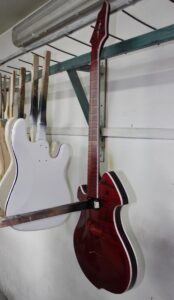
Adding Some Color
Before the guitar heads off to have its final finish coat sprayed on, Mensinger applies a red stain that really accentuates the rich flame maple top.


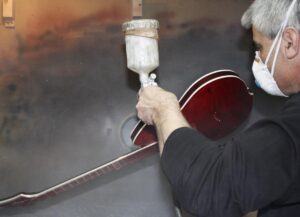
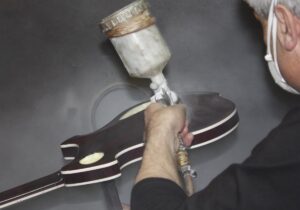
Applying The Clear Coat
Now it’s time to head to the spray booth for the Arcadia to receive its glossy coat.
We’re getting close to the finish line now!


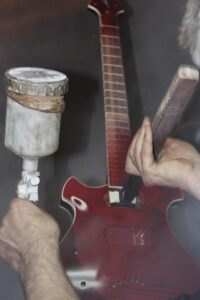

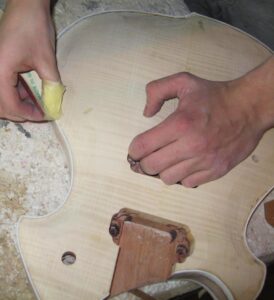
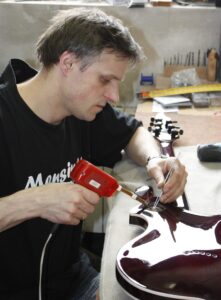
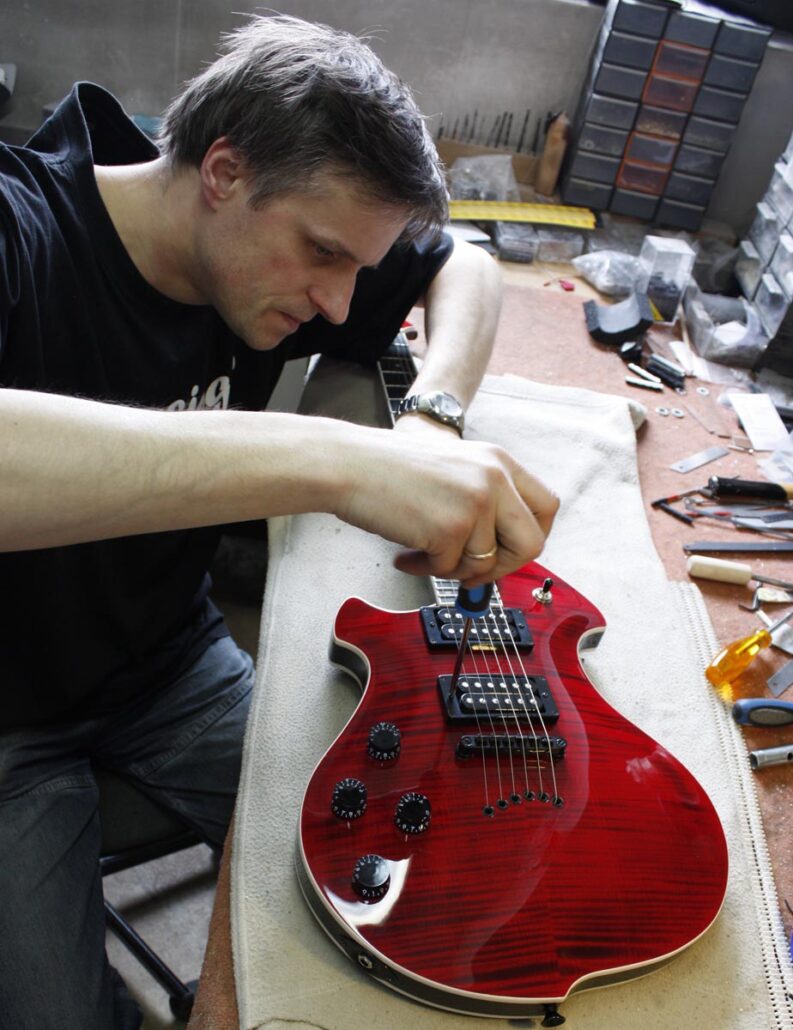
Final Prep
All that remains is to give the freshly applied finish a good buffing to smooth things out and bring it to a glassy shine. Electronics are wired in, hardware is attached, and final inspections are carried out.
Looks like a guitar to me!
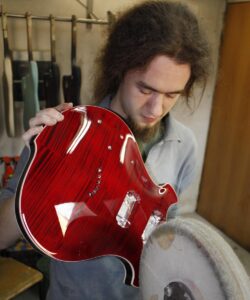

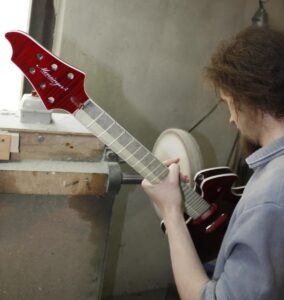


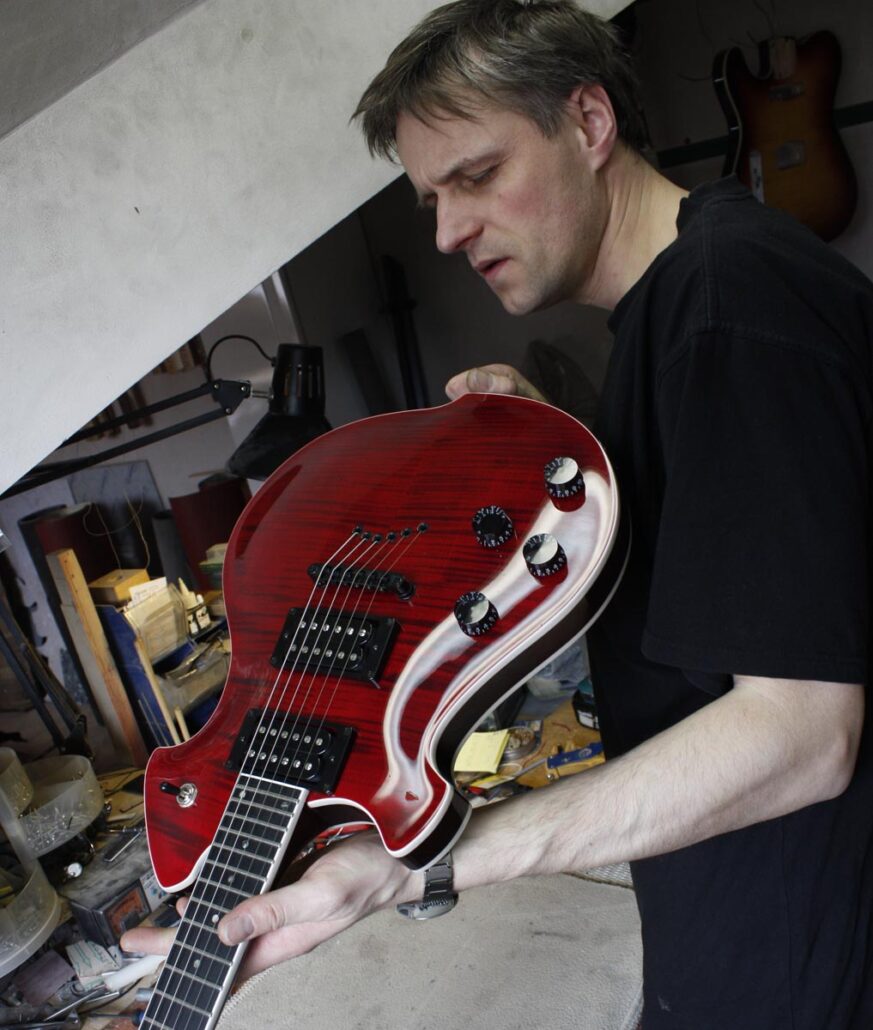

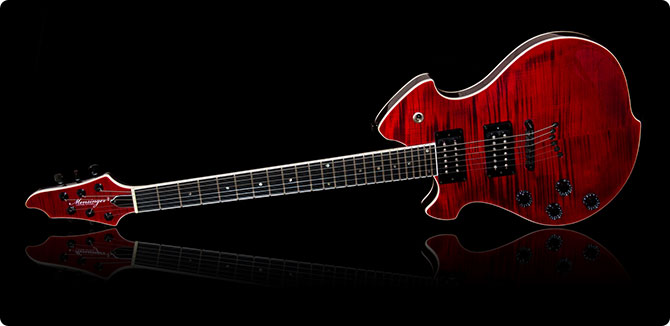
The Completed Build
And here is the finished guitar!

In total, the build ended up taking 9 weeks to complete. However, Mensinger was also very busy exhibiting at MusikMesse, so it was expected to take a little longer than the initial quote.
I did manage to record a quick video with the Arcadia that you can watch below. I cannot believe this was over a decade ago already!

From start to finish, the guys from both Mensinger and Public Peace were excellent. I couldn’t have been any happier with the guitar and would thoroughly recommend looking into them if you are considering a left-handed custom guitar.
If you are interested in ordering your own custom guitar, make sure to check out my guide to using online guitar customizers. Here, you will learn how to easily mock up different guitar designs without the need for Photoshop or other complicated apps.